Here's a detailed guide for the process:
1. Go to Purchase:
- Navigate to the Purchase module in your ERP system.
2. Go to Favourites / Import records:
- Click on "Favourites".
- Select "Import Records" from the dropdown menu.

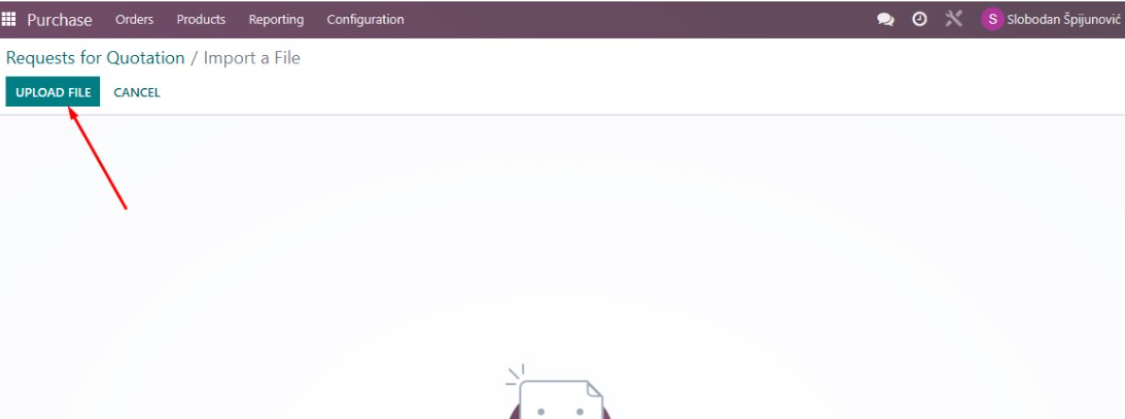
3. Upload File:
- Choose the file you want to upload. Ensure it is in the correct format (read how to create file HERE)
- Click on "Upload" to begin the import process.
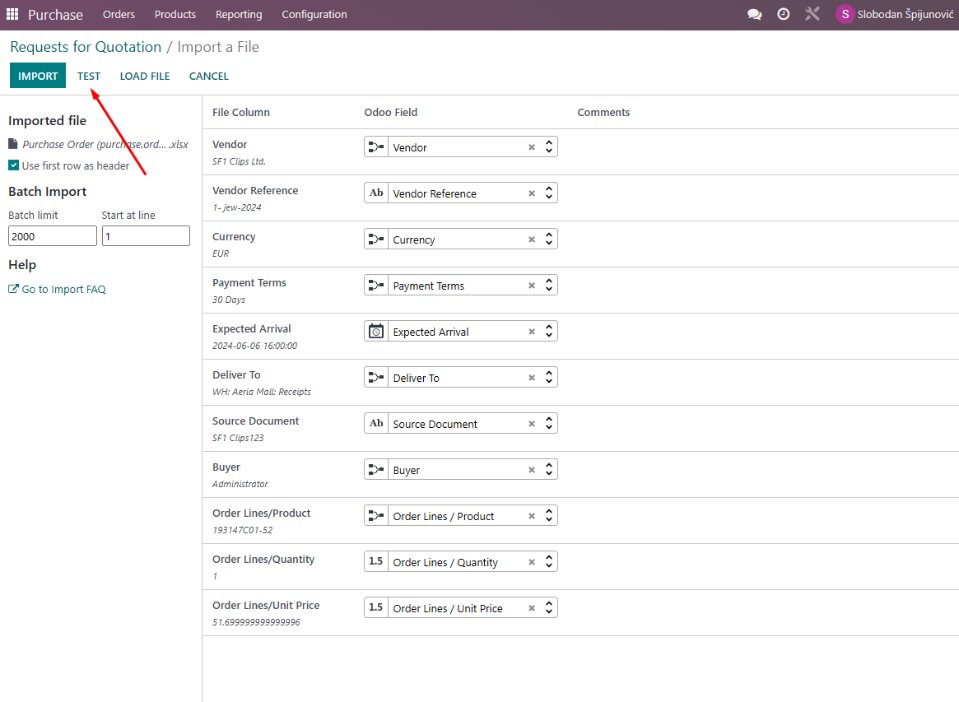
4. Test the File to Check for Any Possible Errors:
- Before finalizing the import, use the "Test" function to validate the data.
- The system will check for any errors or inconsistencies in the file.
- Review and correct any errors identified.
5. Check Created Draft:
- After the import process completes without errors, the records should be in a draft state.
- Navigate to the Drafts section to review the newly created records.
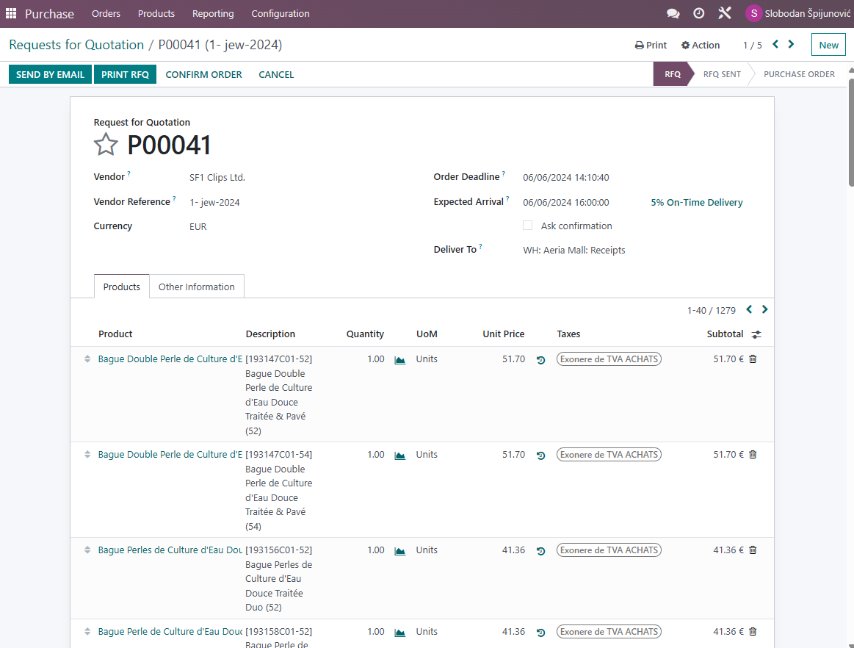
- Make any necessary adjustments before finalizing them. Check "Deliver To" to see if the right store stock is chosen. Check quantities and total prices. If you have made changes, and everything is ok, you can click on the Save icon.
6. Confirm:
- Click on "CONFIRM ORDER"

- Click on "RECEIVE PRODUCTS"
 - You can check everything once again before putting on stock, if everything is ok, you can click on "SET QUANTITIES" - this will confirm that for every line you have received all the products in this purchase order.
- and then "VALIDATE"

You have now put goods on stock. Save the Transfer number, you will need it to create and connect appropriate Landing costs.
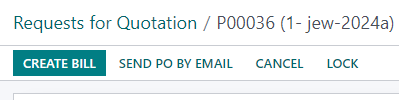
7. Create Vendor Bill:
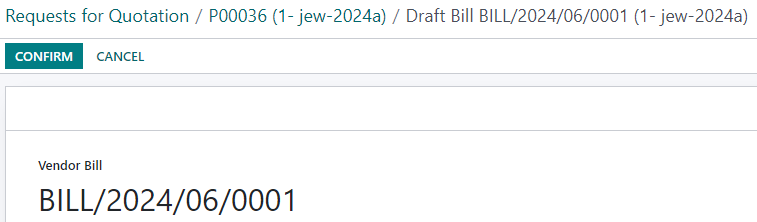
- You should now create in the system supplier's bill based on this document. You can return to PO by clicking on the breadcrumbs:

- Click "CREATE BILL"
- Enter a valid "Bill date" and click "CONFIRM". This has created a Vendor Bill in your system.
8. Landed costs:
You should also include all Landed costs for this invoice (customs, hallmarking, transport, storage).
- From the main menu navigate to Accounting - Vendor Bills
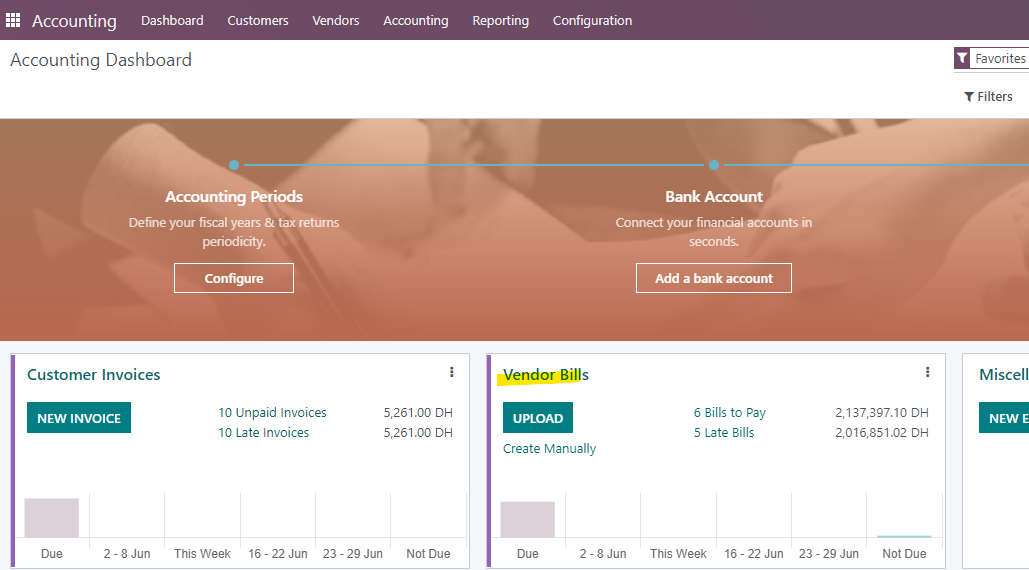
- Click "NEW"
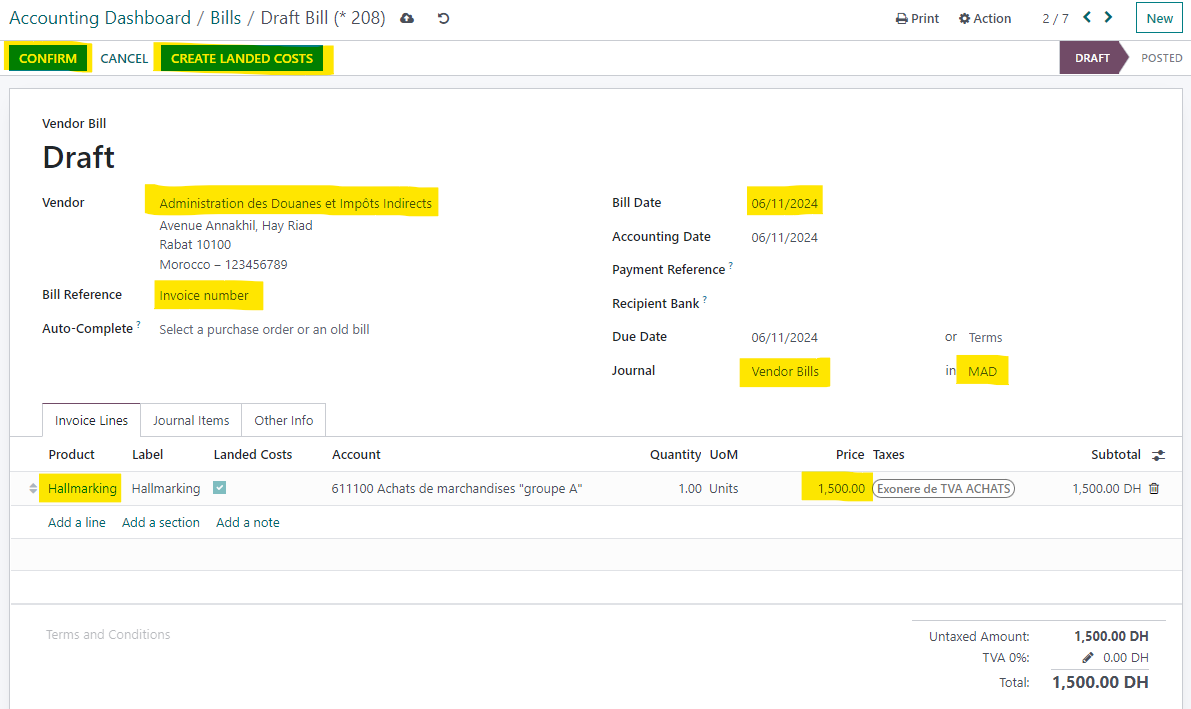
- Fill in the data according to the invoice you have. You must have opened products that you will put in Invoice lines, and the usual products (Hallmarking, Customs, Transport...) are already created, and they have Taxes - Exonere de TVA ACHATS.
- Click "CONFIRM" and "CREATE LANDED COSTS"
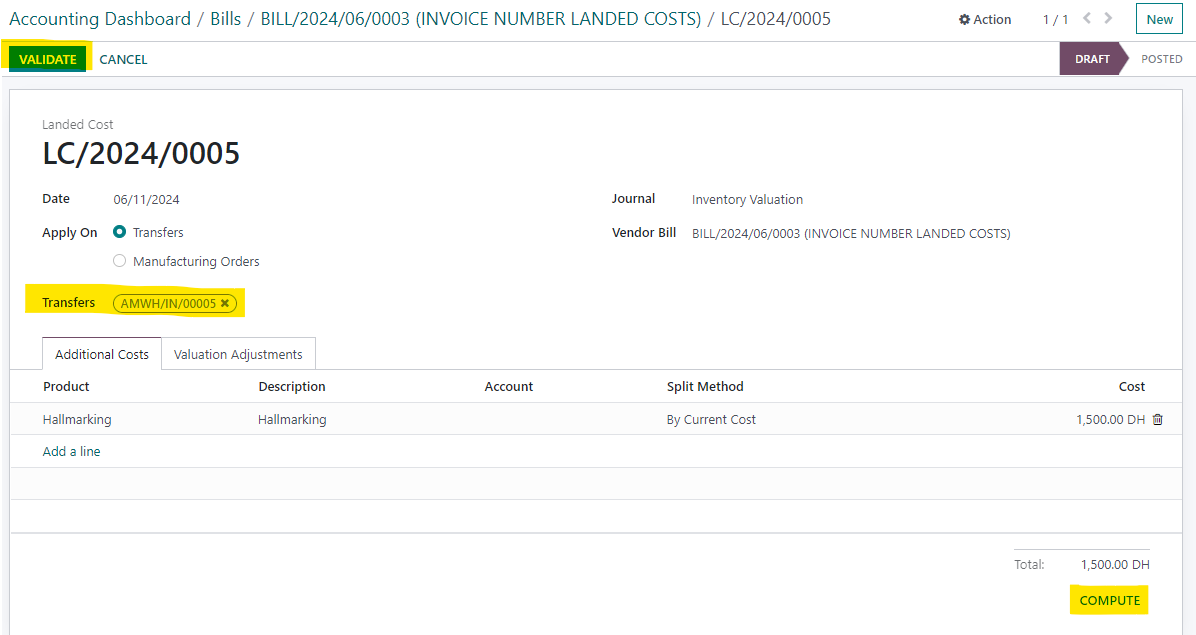
- You will need to put fill in the transfer number (from when you have put goods on stock) so that your Landed costs are added to the value of the goods. You can click "COMPUTE" to check if everything is ok (after Compute check in the tab "Valuation Adjustments".
- If everything is ok, you can click "VALIDATE".
You can add every landed cost in the same way. When you add them all, you can start selling the goods.
Was this article helpful?
That’s Great!
Thank you for your feedback
Sorry! We couldn't be helpful
Thank you for your feedback
Feedback sent
We appreciate your effort and will try to fix the article